 Save
Save The smell of hot, crispy bread wafting through the kitchen instantly transports me to the day I bought my first panini press. It was a rainy Sunday afternoon when I unpacked that gleaming machine, skeptical that it would become anything more than another kitchen gadget collecting dust. Within hours, I'd created the first of countless panini masterpieces—bread turned golden and marked with perfect grill lines, cheese melted to that ideal stretchy consistency. What started as a simple lunch solution evolved into my favorite way to transform ordinary ingredients into extraordinary meals.
Last winter, when my power went out during a snowstorm, I discovered my panini press still worked and became the neighborhood hero. Friends trudged through snow with random ingredients from their fridges, and we created the most memorable impromptu panini party by candlelight. The Mediterranean veggie combination was born that night, when someone brought over grilled vegetables and feta that needed to be used before they spoiled. Sometimes the best recipes come from necessity rather than planning.
Ingredients
- Artisan bread: The foundation of any great panini, I've learned that thicker-cut slices of bread with some texture hold up best to the pressing process without becoming too flat or soggy.
- Quality cheese: After years of experimentation, I can confidently say that freshly sliced cheese melts more evenly than pre-packaged slices, creating that perfect cheese pull when you take your first bite.
- Spreads and sauces: These are the unsung heroes that prevent your sandwich from being dry, with pesto, hummus, and cranberry sauce adding both moisture and concentrated flavor in every bite.
- Fresh vegetables: I always pat tomatoes or grilled vegetables dry with paper towels before assembling, as this prevents the dreaded soggy-middle syndrome that can ruin an otherwise perfect panini.
- Olive oil or butter: Brushing the outside of your bread creates that beautiful golden crust—butter delivers a richer flavor while olive oil gives a lighter, crispier finish depending on your mood.
Tired of Takeout? 🥡
Get 10 meals you can make faster than delivery arrives. Seriously.
One email. No spam. Unsubscribe anytime.
Instructions
- Prepare your canvas:
- Start by preheating your panini press until that little green light signals it's ready. While it heats, lay out your bread slices on a clean surface and imagine them as blank canvases awaiting your artistic touch.
- Build from the bottom up:
- Spread your chosen sauce generously on both inner sides of the bread, creating a moisture barrier that locks in flavor. I've found that spreading all the way to the edges ensures every bite has that perfect sauce-to-filling ratio.
- Layer with intention:
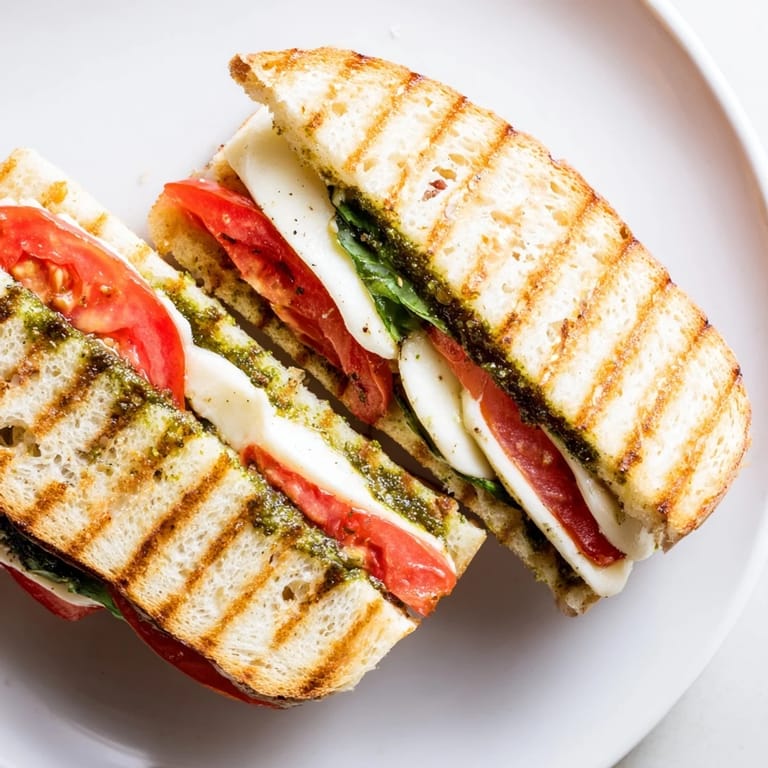
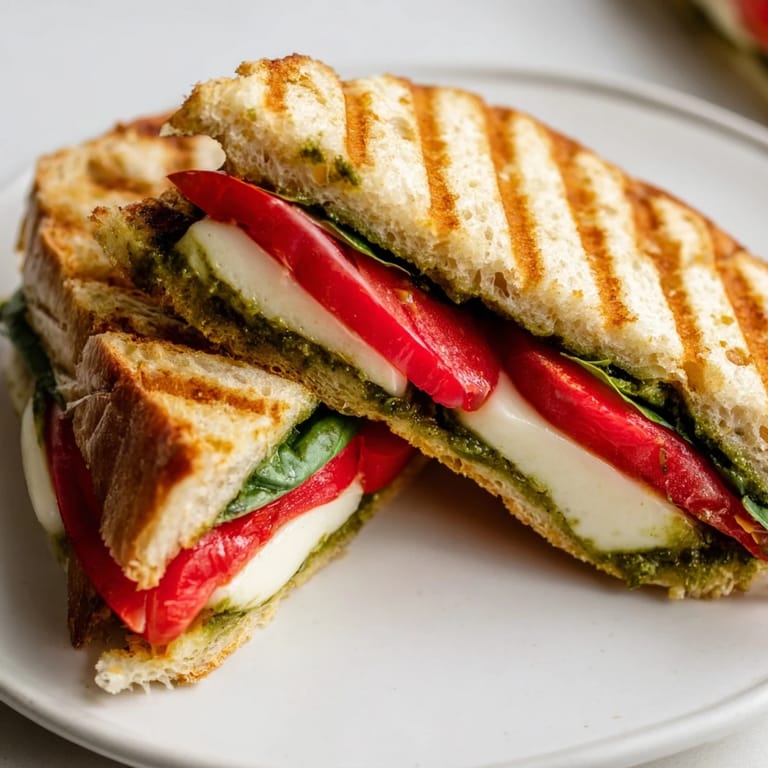
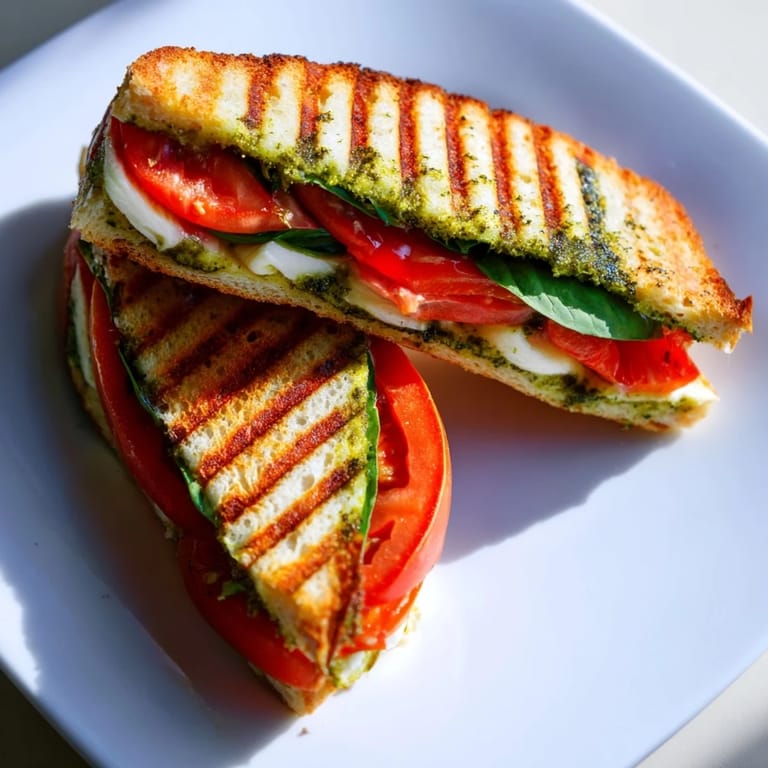
- For the Classic Caprese, I place mozzarella on both sides of bread with tomatoes and basil nestled in between, ensuring the cheese melts around the other ingredients. The Turkey & Cranberry works best when the cranberry sauce is spread on one side and the turkey and cheese are layered on the other, with spinach acting as the perfect peppery divider.
- The perfect press:
- After brushing the exteriors with oil or butter, place your creation on the hot plates and lower the lid gently but firmly. Resist the urge to peek too early—that perfect golden crust needs about 4-6 uninterrupted minutes to develop.
- The crucial rest:
- When your panini emerges hot and crispy, let it rest for just 30 seconds before cutting. This brief pause allows the melted cheese to set slightly, preventing the dreaded filling-slide-out when you slice.
 Save
Save My daughter, who once survived exclusively on plain pasta and chicken nuggets, actually requested the Mediterranean veggie panini for her birthday dinner last year. Watching her savor each bite of eggplant and zucchini—vegetables she would normally avoid at all costs—made me realize food presentation and texture can transform even the pickiest eaters. Now our panini nights have become a weekly tradition where everyone gets to customize their own creation, making dinner both an activity and a meal.
Perfect Pairings
After countless panini dinners, I've discovered that the right accompaniment elevates these sandwiches from a quick meal to a dining experience. A small cup of tomato soup alongside the Caprese panini creates a combo that somehow exceeds the sum of its parts—the acidic soup balancing the rich cheese perfectly. For the BBQ Chicken panini, a simple coleslaw provides cooling crunch against the spicy sandwich heat, while a cucumber salad with mint creates a refreshing counterpoint to the Mediterranean veggie option.
Make-Ahead Options
One Sunday afternoon, facing a particularly hectic week ahead, I discovered the joy of panini prep stations. I grilled batches of vegetables, portioned cheeses, and stored spreads in small containers, creating a build-your-own panini bar that lasted the entire week. The eggplant and zucchini for the Mediterranean option actually improved after marinating for a day in olive oil and herbs, while pre-cooking chicken for the BBQ version meant dinner was just minutes away even on my busiest evenings. Having these components ready transformed lunch-packing from a morning scramble to an almost peaceful ritual.
Troubleshooting Your Panini
Through years of panini experimentation, I've encountered nearly every possible sandwich disaster and developed fixes for each one. The most common issue—cheese that refuses to melt before the bread burns—taught me to let harder cheeses like Swiss come to room temperature before assembling, ensuring they melt quickly once heat is applied. Another revelation came when I started using a lower temperature setting for longer cooking time, allowing heat to penetrate thoroughly without scorching the exterior.
- If your bread is browning too quickly but fillings remain cold, try assembling the sandwich while your ingredients are at room temperature rather than straight from the refrigerator.
- For extra-melty cheese without sogginess, grate harder cheeses instead of slicing them—the increased surface area melts more quickly and distributes more evenly.
- When working with very juicy ingredients like tomatoes or pineapple, pat them dry with paper towels first and consider placing them in the very center of your sandwich, surrounded by cheese or meat barriers.
 Save
Save These panini combinations have traveled with me through different kitchens, life changes, and countless gatherings, each sandwich telling its own story through layers of flavor. Whether you're making a quick lunch or hosting an impressive dinner, there's something deeply satisfying about transforming simple ingredients into something extraordinary with just a little heat and pressure.
Recipe FAQs
- → What type of bread works best for panini?
Sourdough, ciabatta, focaccia, and rustic country breads work excellently as they hold up well under pressure and develop a crispy exterior while maintaining structure.
- → Can I make these without a panini press?
Yes, use a grill pan or skillet with a heavy pot or second pan on top to press the sandwich down while cooking over medium heat.
- → How do I prevent the filling from spilling out?
Keep fillings about half an inch from the bread edges, avoid overstuffing, and ensure ingredients are evenly distributed for balanced pressing.
- → What cheese melts best in panini?
Mozzarella, Swiss, provolone, cheddar, and pepper jack melt beautifully. Fresh mozzarella adds creaminess while aged cheeses provide sharper flavors.
- → Can I prepare these sandwiches ahead of time?
Assemble sandwiches up to 2 hours ahead and refrigerate, but press them just before serving to ensure optimal crispiness and temperature.
- → What sides pair well with these panini?
Simple green salads, tomato soup, roasted vegetables, or crispy potato chips complement the rich, melty sandwiches perfectly.