 Save
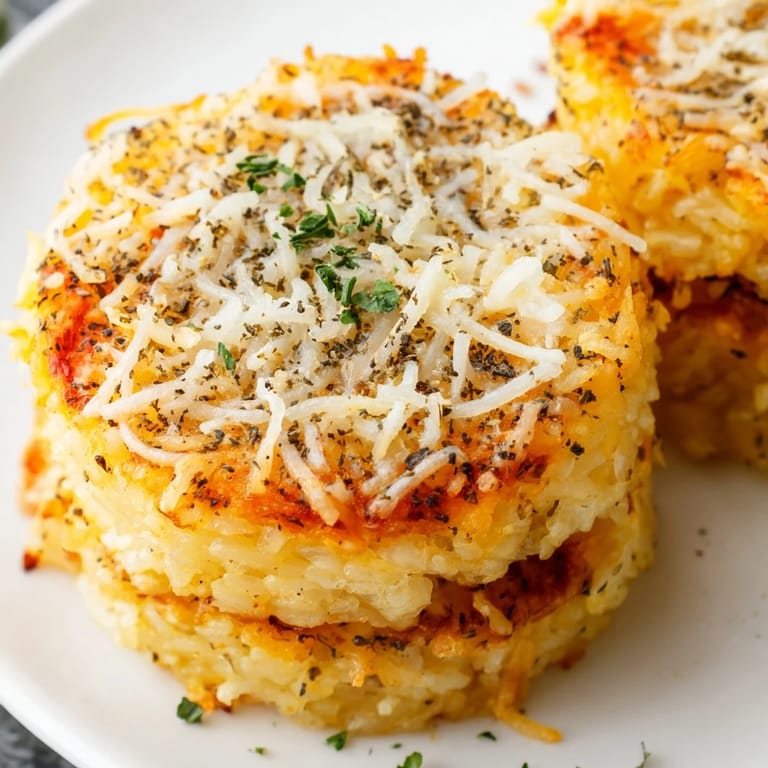
Save The day I discovered rice cake cheese stacks was purely accidental, born from a late-night pantry raid when I found little more than rice cakes and cheese. The sizzle of that first batch in my tiny apartment oven, filling the room with the aroma of toasting cheese, is something I can still conjure perfectly. What started as desperate hunger turned into a recipe I've made dozens of times since, tweaking it each round until these crispy, golden stacks became my go-to comfort food.
Last winter when my sister visited with her kids, I was completely unprepared for dinner. In desperation, I threw these together while apologizing profusely, only to watch my normally picky niece devour three stacks and declare me the coolest aunt ever. The kitchen filled with laughter as little fingers reached for seconds, cheese stretching in long, impressive strings between plate and mouth. Sometimes the most memorable meals come from the simplest ingredients.
Ingredients
- Rice Cakes: Look for thicker, sturdy plain rice cakes that can hold up to the weight of cheese and toppings without crumbling under pressure.
- Cheese Blend: The combination of mozzarella for stretch and parmesan for sharp flavor creates the perfect balance that elevates these simple stacks to something crave-worthy.
- Olive Oil: Brushing the tops with good olive oil before baking helps achieve that beautiful golden crust while adding a subtle richness to each bite.
- Seasonings: Dont skip the herbs and spices as they transform what could be a plain cheesy snack into something with genuine depth of flavor.
Tired of Takeout? 🥡
Get 10 meals you can make faster than delivery arrives. Seriously.
One email. No spam. Unsubscribe anytime.
Instructions
- Prep your foundation:
- Preheat your oven to 200°C and line a baking sheet with parchment paper, which prevents the cheese from creating a stuck-on mess. Arrange your first layer of rice cakes with enough space between them for the cheese that will inevitably bubble over.
- Build your towers:
- Layer each rice cake with a generous handful of mozzarella and a sprinkle of parmesan before topping with another rice cake. Press down gently but firmly so the layers bond together as they bake.
- Season with love:
- Brush the tops with olive oil until they glisten, then shower them with the remaining cheeses and all your seasonings. The oil helps the toppings stick and creates that irresistible golden crust.
- Bake to golden perfection:
- Slide them into the oven and bake for 15-20 minutes, watching for that moment when the cheese turns bubbly with hints of brown. Your kitchen should be filling with an aroma that makes waiting nearly impossible.
- Garnish and serve:
- Let them cool just enough to handle without burning fingers or melting faces. Sprinkle with fresh parsley for a pop of color and brightness that cuts through the richness.
 Save
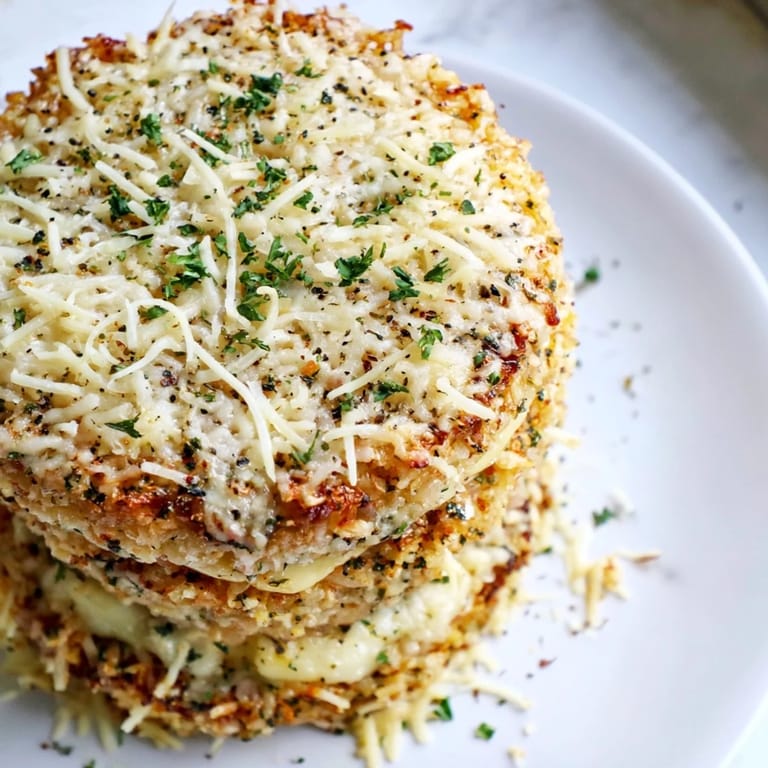
Save One Friday night, I served these alongside soup when my friend was going through a tough breakup. We sat cross-legged on my living room floor, dunking crispy corners into steaming bowls while she unpacked her feelings. By the end of the night, between bites and tears, she smiled genuinely for the first time in weeks. Sometimes simple food creates the safe space we need to feel our way through difficult moments.
Flavor Variations
After making these dozens of times, Ive discovered that sandwiching thin slices of roasted red pepper or sundried tomatoes between the layers creates pockets of tangy sweetness that beautifully balance the salty cheese. The slight moisture from these additions also helps prevent the rice cakes from becoming too hard during baking, creating the perfect textural harmony in each bite.
Dipping Sauces
While these stacks are perfectly delicious on their own, serving them with a small bowl of warm marinara transforms them into something reminiscent of pizza, especially when you hit that perfect scoop-to-bite ratio. On evenings when Im feeling fancy, I whip up a quick basil pesto using whatever nuts I have on hand, which adds a fresh, herbal dimension that elevates the entire experience.
Serving Suggestions
These versatile stacks can transition from casual snack to proper meal depending on how you serve them. I learned this after hosting an impromptu gathering where I arranged them on a wooden board alongside olives, sliced cucumbers, and cherry tomatoes for a Mediterranean-inspired spread that disappeared in minutes.
- Cut each stack into quarters for bite-sized appetizers perfect for parties or movie nights.
- Serve alongside a simple green salad dressed with lemon and olive oil for a light lunch that satisfies without weighing you down.
- For brunch, try topping each stack with a perfectly fried egg whose runny yolk creates a rich sauce when broken.
 Save
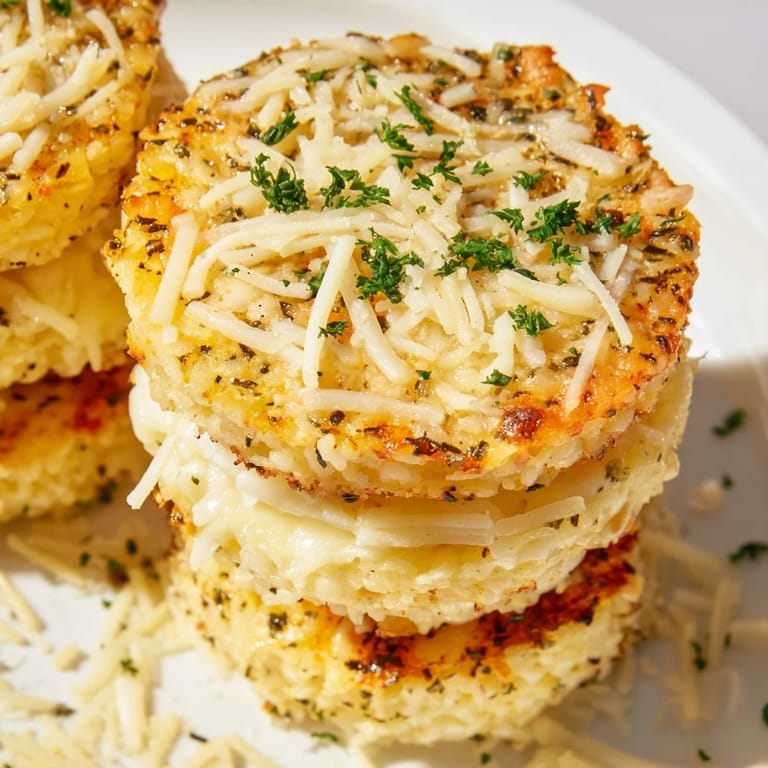
Save These humble stacks have saved countless hungry evenings in my home, proving that creativity with simple ingredients often yields the most satisfying results. Whether youre cooking for one or surprising friends with something unexpectedly delicious, these crispy, cheesy towers deliver comfort that somehow feels both nostalgic and new at once.
Recipe FAQs
- → Can I use different types of cheese for these stacks?
Yes, you can experiment with various cheese combinations. Try smoked gouda, cheddar, or gruyere mixed with mozzarella for different flavor profiles. The key is using at least one good melting cheese like mozzarella to hold the stacks together.
- → How do I prevent the rice cakes from getting soggy?
Bake at the recommended high temperature of 200°C (400°F) and avoid overloading with toppings. The olive oil brushed on top helps create a crispy exterior while the cheese melts. Let them cool slightly after baking to firm up.
- → Can I make these ahead of time?
You can assemble the stacks up to 2 hours ahead and refrigerate them covered. Brush with oil and add final toppings just before baking. For best results, bake fresh as they lose crispiness when reheated.
- → What can I serve with these cheese stacks?
They pair wonderfully with marinara sauce, pesto, or garlic aioli for dipping. Serve alongside a fresh salad, soup, or as part of an appetizer platter with vegetables and olives.
- → How do I store leftovers?
Store cooled stacks in an airtight container in the refrigerator for up to 2 days. Reheat in a 180°C (350°F) oven for 5-7 minutes to restore some crispiness. Avoid microwaving as it makes them rubbery.
- → Can I add vegetables to these stacks?
Absolutely! Thin slices of tomato, roasted red peppers, sautéed mushrooms, or fresh spinach work beautifully between the layers. Just ensure vegetables are not too wet to prevent sogginess.