 Save
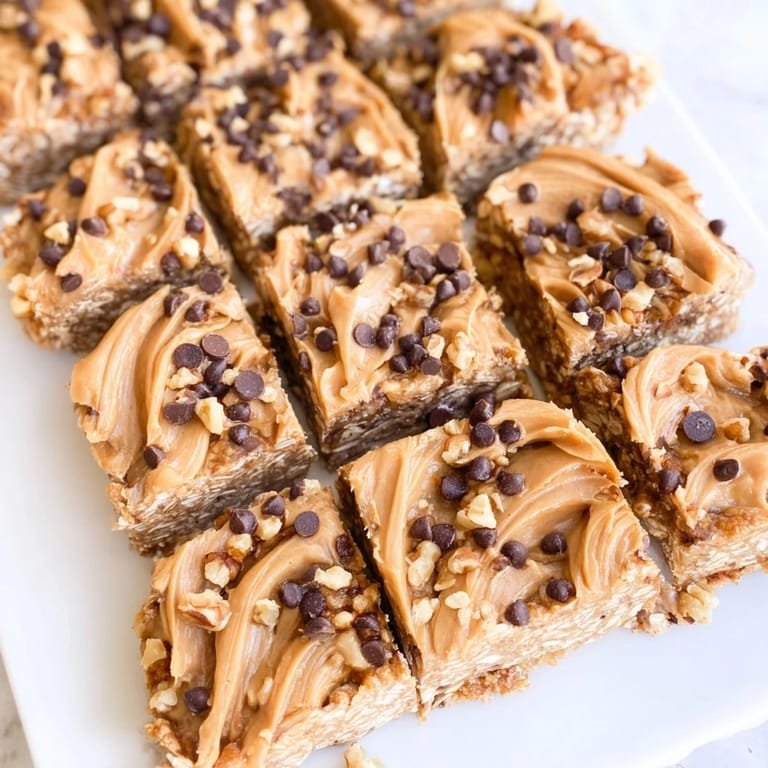
Save There's something magical about a snack that requires nothing but a bowl and your hands. I discovered these bars on an afternoon when I was restless in the kitchen, craving something sweet but too lazy to heat the oven. The bananas were getting speckled on the counter, the peanut butter jar sat half-empty, and somehow those humble ingredients transformed into something so satisfying I've made them constantly ever since. No baking, no fuss, just simple ingredients pressed into a pan and waiting patiently in the cold.
I'll never forget packing these into my son's school snack box for the first time. He came home asking if I could make them again, and his friend's mom called later wanting the recipe. That small moment—when something homemade becomes the snack kids actually ask for—made me realize how often we reach for commercial bars when a few minutes and simple ingredients can do so much better.
Ingredients
- Ripe bananas: Use ones with brown spots; they're sweeter and blend into the mixture like creamy glue holding everything together.
- Creamy peanut butter: The natural stuff works beautifully, though conventional peanut butter is fine if that's what you have on hand.
- Honey or maple syrup: Both work equally well; use what feels right in the moment or what you have in your pantry.
- Vanilla extract: A small amount goes far, awakening the other flavors without overpowering them.
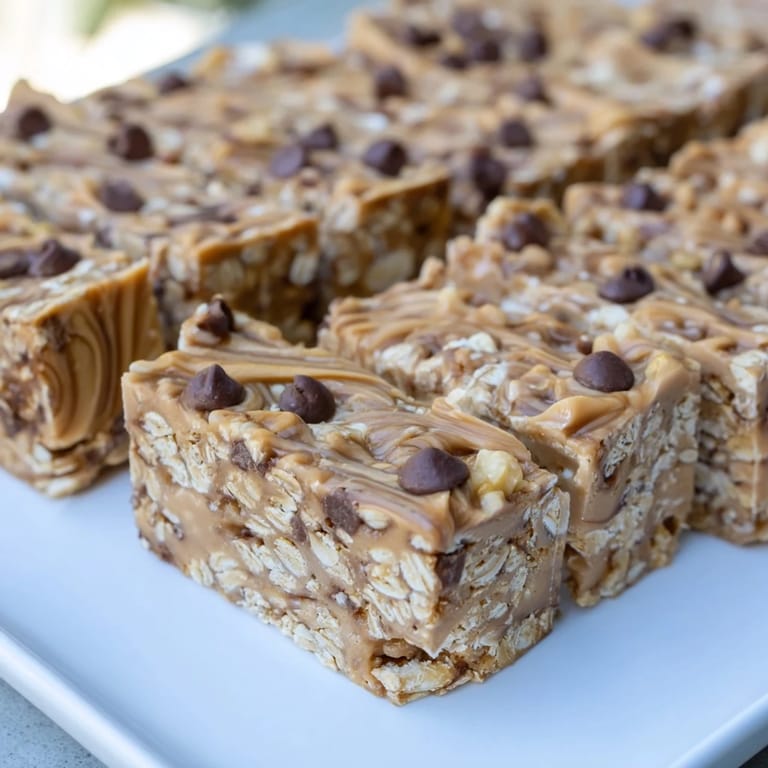
- Old-fashioned rolled oats: They give these bars their characteristic chewiness and heartiness.
- Salt: Just a whisper to make everything taste more like itself.
- Ground cinnamon: Warm spice that reminds you these are comfort food, not just convenience.
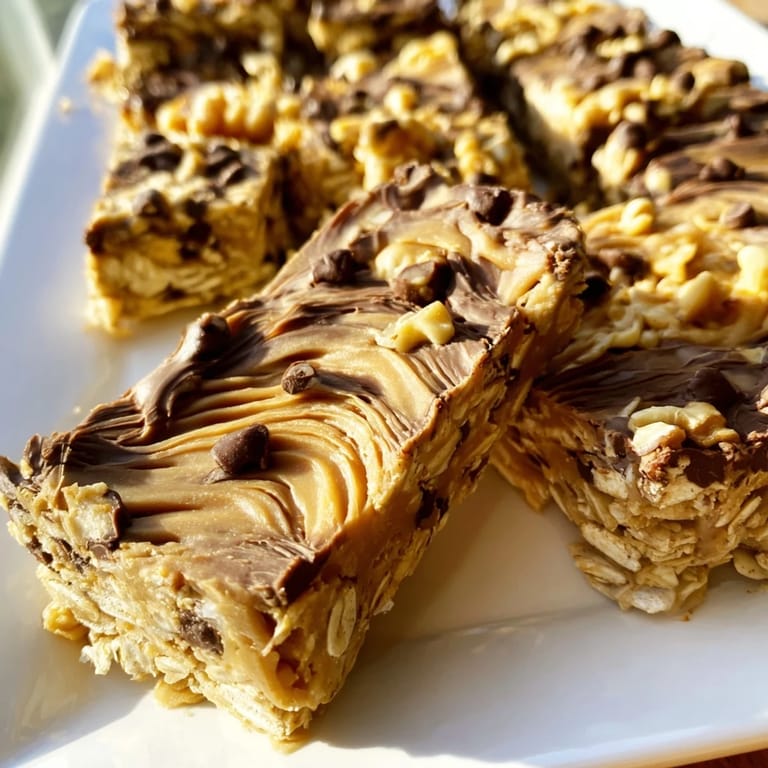
- Walnuts or pecans: Optional but wonderful if you want texture and a hint of bitterness to balance the sweetness.
- Mini chocolate chips: The secret move that makes people wonder what's in these bars; use good quality ones.
Tired of Takeout? 🥡
Get 10 meals you can make faster than delivery arrives. Seriously.
One email. No spam. Unsubscribe anytime.
Instructions
- Set yourself up for success:
- Line your square pan with parchment paper, letting it hang over the sides like little handles. This small step means you'll actually be able to lift the whole thing out without it crumbling.
- Create a smooth banana base:
- Mash those speckled bananas until they're almost creamy, breaking down any stubborn chunks. You're building the foundation that holds everything together.
- Build the wet mixture:
- Stir in the peanut butter, honey, and vanilla, mixing until you feel the resistance ease and everything becomes one luxurious blend. The warmth of your spoon will actually help soften the peanut butter slightly.
- Bring the dry ingredients home:
- Add the oats, salt, cinnamon, and any mix-ins you're using. Stir with intention until you don't see any dry oat streaks—this is important so every bite is balanced.
- Press and shape:
- Spread the mixture into your prepared pan and use the back of a spoon to press it down firmly and evenly. You're compacting it enough that the bars will hold together, but not so much that they become dense.
- Patience pays off:
- Slide the pan into the refrigerator for at least an hour. The cold time is when the oats absorb moisture and everything sets into proper bars, not crumbly pieces.
- Release and slice:
- Grab those parchment handles and lift the whole block onto a cutting board. A sharp knife dipped in warm water makes clean cuts; wipe between slices for neat edges.
 Save
Save There's a moment when you pull these bars from the fridge and see them actually solid and real that feels like small magic. The way they come together without heat, without any fussing, reminds me why I love cooking—sometimes the best things are simple enough to make with your eyes closed.
Customizing Your Bars
These bars are endlessly flexible, which is part of their charm. If you're drawn to different nuts, swap them freely; if you prefer dried fruit over chocolate, that's equally wonderful. I've made them with almond butter on days when peanut butter felt too heavy, and with extra cinnamon when the mood called for warmth. The base of mashed banana and oats is forgiving enough to handle your preferences.
Storage and Longevity
Keep these wrapped in parchment or foil in an airtight container in the fridge, where they stay perfect for a week or longer. They travel beautifully, staying intact in lunch boxes and gym bags without needing any special care. If you want to make a bigger batch, they freeze wonderfully too—just thaw for a few minutes before eating.
Making Them Work for Everyone
The beauty of no-bake snacks is how easily they adapt to different diets and preferences. Maple syrup makes them naturally vegan, and if you're watching sugar content, you can reduce the sweetener slightly without losing the bars' integrity. I've made them gluten-free with certified oats, dairy-free with coconut chips, and even added protein powder on mornings when I wanted them heartier.
- Wrap individual bars in parchment for grab-and-go mornings or packed lunches.
- Make a double batch and freeze half so you always have quick energy bites waiting in the wings.
- Let them warm to room temperature for a few minutes before eating if you prefer a softer, chewier texture.
 Save
Save These bars have become my go-to snack for the moments when I need something real and whole, not manufactured. They're proof that the best foods don't demand much, just good ingredients and a few minutes of your time.
Recipe FAQs
- → How do I make these bars vegan?
Replace honey with maple syrup and use dairy-free chocolate chips or omit them entirely for a vegan-friendly option.
- → Can I substitute peanut butter with other nut butters?
Yes, almond or sunflower seed butter works well and offers a different but complementary flavor profile.
- → What is the best way to store the bars?
Store the bars in an airtight container in the refrigerator for up to one week to maintain freshness and texture.
- → Can I add dried fruit to the bars?
Adding dried cranberries, raisins, or other dried fruits enhances flavor and provides additional chewy texture.
- → Are these bars gluten-free?
Use certified gluten-free oats to ensure the bars are suitable for gluten-sensitive individuals.
- → Is any baking required for these bars?
No baking is needed. Simply mix the ingredients, press into a pan, chill until firm, then slice.