 Save
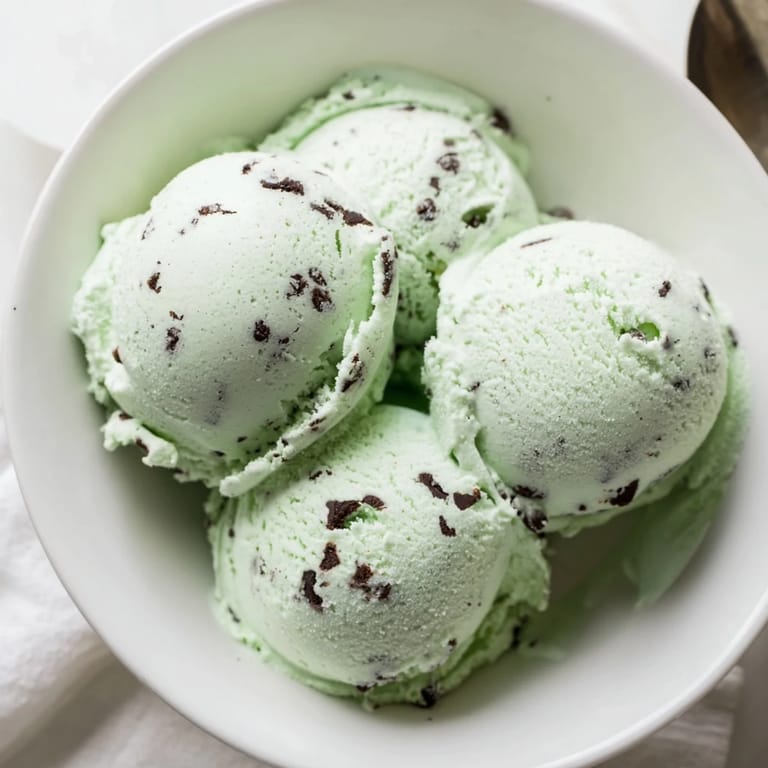
Save Last August, my ice cream maker had been sitting in the closet for two years when I finally pulled it out on a whim. I was craving something cold and minty, and store-bought just wasn't cutting it anymore. The kitchen smelled like a winter garden by the time I finished, and I realized I'd been missing out on something special. That first spoonful, still soft from the churn, was exactly what I'd been searching for.
I made this for a small dinner party in September, and my friend who claims she doesn't like mint desserts went back for seconds. She said the chocolate chips made all the difference, and I think she was right. There's something about that cold mint cream breaking against little shards of dark chocolate that just works. We ended up sitting on the porch with our bowls long after the sun went down, and nobody wanted to go inside.
Ingredients
- Heavy cream and whole milk: The combination gives you richness without being too heavy, and the fat content is what makes the texture smooth instead of icy.
- Granulated sugar: It sweetens and also lowers the freezing point slightly, which keeps the ice cream scoopable.
- Egg yolks: These are what turn milk into custard and give the ice cream that luxurious, velvety mouthfeel you can't get from a no-churn recipe.
- Peppermint extract: A little goes a long way, start conservative because you can always add more before churning but you can't take it back.
- Vanilla extract: It rounds out the mint and adds a subtle warmth that keeps the flavor from being one-dimensional.
- Green food coloring: Completely optional, I skip it half the time, but it does make it look more like the classic version if that matters to you.
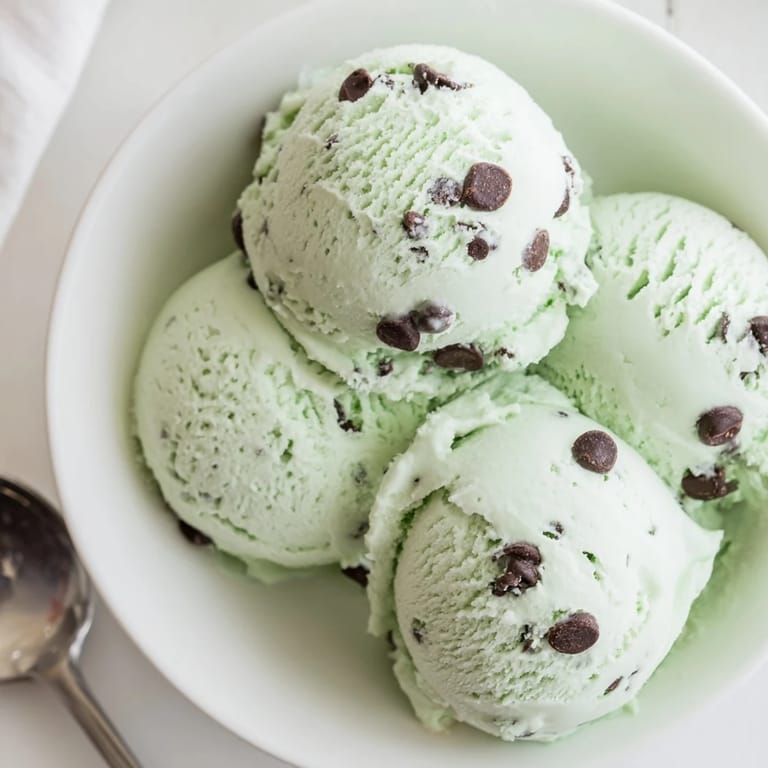
- Semisweet chocolate chips: Mini chips distribute better, but I like chopping up a good bar of chocolate because the irregular pieces give you different textures in every bite.
Tired of Takeout? 🥡
Get 10 meals you can make faster than delivery arrives. Seriously.
One email. No spam. Unsubscribe anytime.
Instructions
- Warm the Dairy Base:
- Combine the cream, milk, and half the sugar in a saucepan over medium heat, stirring occasionally until you see steam rising and tiny bubbles forming at the edges. Don't let it boil or you'll end up with a skin on top that's annoying to deal with later.
- Whisk the Yolks:
- In a separate bowl, whisk the egg yolks with the remaining sugar until the mixture turns pale yellow and thickens just a bit. This step aerates the yolks and dissolves the sugar, which helps prevent graininess.
- Temper the Eggs:
- Slowly drizzle about a cup of the hot cream into the yolks while whisking constantly, this gradually raises the temperature of the yolks so they don't scramble. It feels fussy, but it's the most important step for a smooth custard.
- Cook the Custard:
- Pour everything back into the saucepan and cook over low heat, stirring constantly with a wooden spoon, until it thickens enough to coat the back of the spoon. You'll know it's ready when you can draw a line through the custard on the spoon and it holds.
- Add the Flavorings:
- Take the pan off the heat and stir in the peppermint extract, vanilla, and a few drops of green coloring if you're using it. The smell will hit you immediately, bright and cool.
- Strain and Chill:
- Pour the custard through a fine-mesh sieve into a clean bowl to catch any bits of cooked egg. Let it cool to room temperature, then cover and refrigerate for at least three hours, though overnight is even better.
- Churn with Chocolate:
- Pour the chilled custard into your ice cream maker and churn according to the machine's instructions. In the last few minutes, when it's thick and soft, add the chocolate chips and let them mix in.
- Freeze Until Firm:
- Transfer the soft ice cream to a freezer-safe container, press plastic wrap directly onto the surface to prevent ice crystals, and freeze for at least two hours. It'll be ready to scoop when you can press a spoon into it with a little effort.
 Save
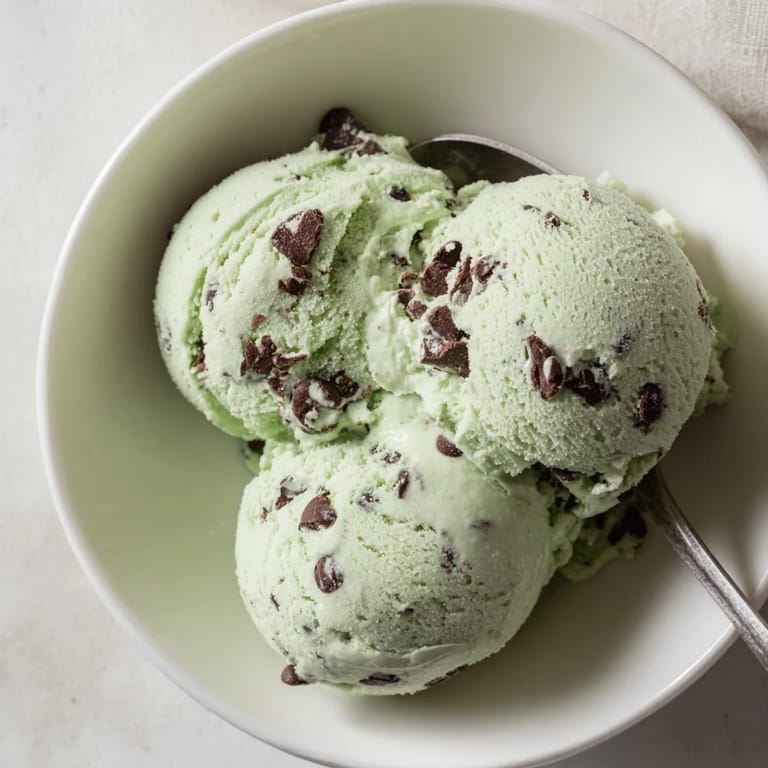
Save The first time I brought a container of this to a family cookout, my nephew asked if I'd bought it from the fancy ice cream shop downtown. When I told him I made it in my kitchen, he didn't believe me until I showed him the photos on my phone. That might be my favorite compliment I've ever gotten for something I cooked. It reminded me that homemade doesn't have to mean rustic or imperfect, sometimes it just means better.
Getting the Mint Flavor Right
I've learned that peppermint extract varies wildly by brand, so start with one teaspoon and taste the custard before you chill it. You can always stir in more, but you can't undo it once it's too strong. Some people steep fresh mint leaves in the cream for a more herbal, garden-fresh flavor, which I love in the summer when I have mint growing out of control on the patio. Just remember to strain them out completely before you add the yolks, or you'll have green flecks that look a little too rustic.
Choosing Your Chocolate
I used to just grab whatever chocolate chips were on sale, but once I started using a chopped-up bar of good dark chocolate, I never went back. The irregular pieces melt slightly on your tongue in a way that uniform chips don't, and the flavor is deeper and less waxy. Mini chips are easier if you're making this for kids or if you want even distribution, but for myself, I'll take the chunks every time. Semisweet is the classic choice, but bittersweet or even milk chocolate works depending on how sweet you like things.
Storage and Serving Tips
Homemade ice cream gets rock-hard in the freezer faster than store-bought because it doesn't have all those stabilizers and gums. I usually pull the container out and let it sit on the counter for five to ten minutes before I try to scoop it, which saves my wrists and my spoons. If you know you won't finish it within a week, press a piece of parchment or plastic wrap directly onto the surface before you put the lid on. It's a small step, but it prevents that layer of frost from forming on top.
- Let it soften for a few minutes before scooping, or run your scoop under hot water between servings.
- Store it in a shallow, airtight container rather than a tall tub so it freezes and thaws more evenly.
- If it gets icy after a few days, let it soften slightly and re-churn it for a minute to bring back the creaminess.
 Save
Save This is the kind of recipe that feels like a project the first time, but by the third batch, you'll be doing it without checking the instructions. There's something satisfying about opening the freezer and seeing a container of something you made from scratch, especially when it tastes better than anything you could buy.
Recipe FAQs
- → How do I achieve a smooth custard base?
Heat milk and cream with sugar until steaming, then temper tempered egg yolks by slowly whisking in hot mixture. Cook gently while stirring till custard coats spoon to avoid curdling.
- → Can I intensify the mint flavor naturally?
Steeping fresh mint leaves in the milk and cream before combining with egg yolks introduces a stronger, natural mint essence without overpowering the balance.
- → What alternatives exist for dairy in this dessert?
Replacing cream and milk with coconut cream and coconut milk creates a dairy-free version while maintaining rich texture and smooth mouthfeel.
- → When should chocolate chips be added?
Add chocolate chips in the last minutes of churning to ensure even distribution without melting into the base.
- → How long should the mixture be chilled before churning?
Refrigerate the custard mixture thoroughly for at least 3 hours or overnight to develop flavor and improve texture during churning.