 Save
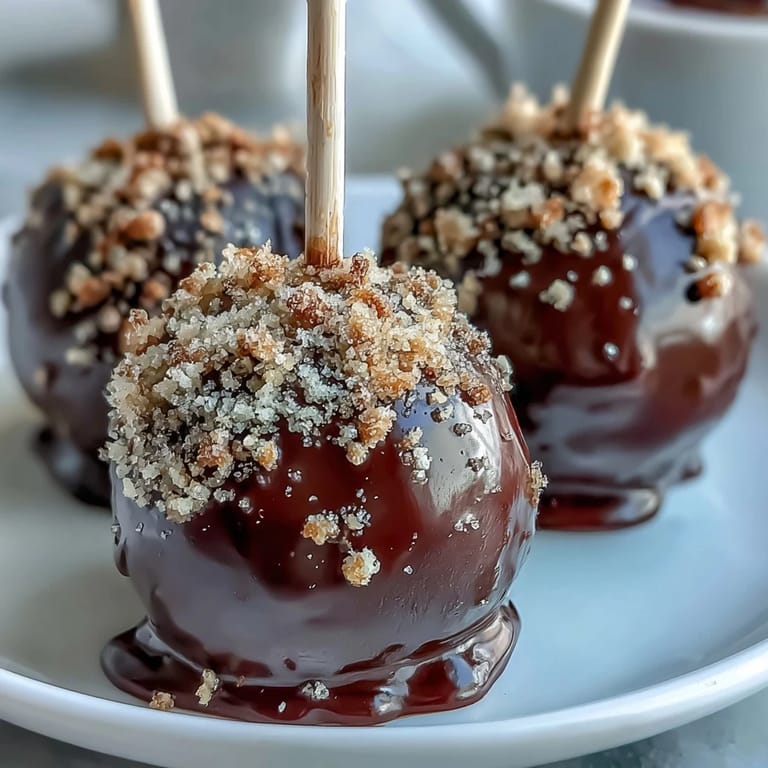
Save My kitchen smelled like chocolate and possibility when my niece asked if we could make something special for St. Patrick's Day that didn't involve green food coloring or Lucky Charms. She was seven and had opinions. We stood at the counter together, and I mentioned cake pops, and her eyes went wide when I described tiny black pots overflowing with edible gold. That's when these Pot of Gold Cake Pops became less about a holiday and more about watching someone discover that dessert could be playful and surprising.
I brought these to a neighborhood gathering last March, and they sat on the dessert table for maybe four minutes before someone asked for the recipe while still chewing. A neighbor I barely knew spent fifteen minutes telling me about her daughter's nut allergy and how relieved she was to have something festive that wasn't automatically unsafe. That's when I understood these weren't just pretty cake pops—they were an invitation to include people.
Ingredients
- Chocolate cake mix (1 box, 400 g): The foundation that saves you from scratch baking while delivering reliable chocolate flavor; I've learned that adding an extra egg makes the crumb slightly richer when you break it apart later.
- Chocolate frosting (120 g or ½ cup): This binds everything together, and store-bought works perfectly—homemade can actually make the mixture too wet and harder to shape.
- Black candy melts (400 g or 14 oz): These create the pot effect and melt beautifully in the microwave; quality matters here since cheap melts can seize if you're not careful with temperature.
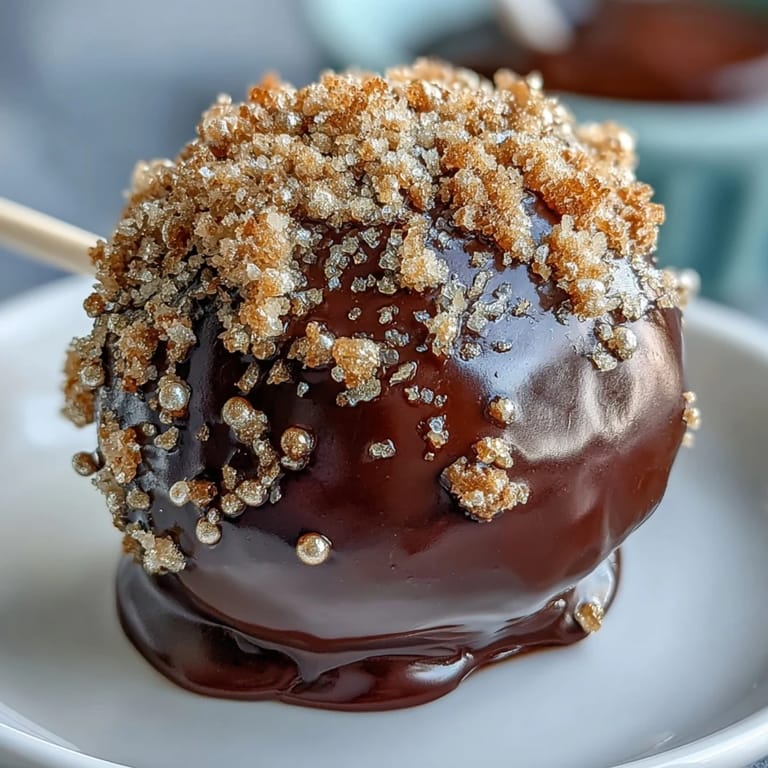
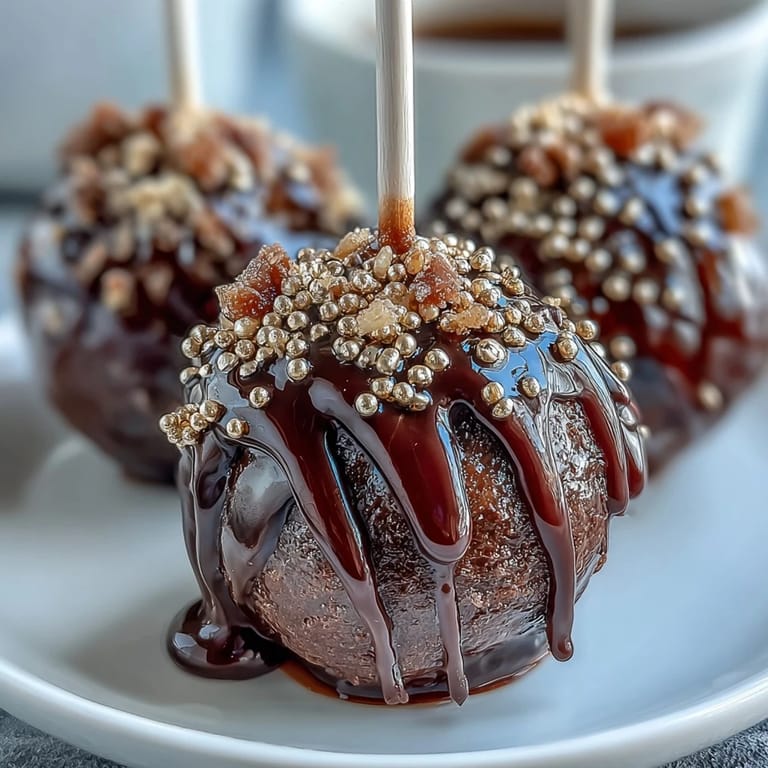
- Gold sprinkles or edible gold pearls (48 g or 2 oz): The moment these hit the still-wet coating, they stick and transform the whole thing from dessert to treasure.
- Lollipop sticks (24): These need to go in while the coating is tacky but not liquid, or you'll end up fishing them out of the candy.
- White candy melts (50 g or 2 oz, optional): Perfect for piping a delicate rim that catches light and adds contrast against the black pots.
- Green fondant or sprinkles (optional): A shamrock detail that makes the theme complete without overwhelming the design.
Tired of Takeout? 🥡
Get 10 meals you can make faster than delivery arrives. Seriously.
One email. No spam. Unsubscribe anytime.
Instructions
- Bake your cake and let it cool completely:
- Follow the package directions and let that cake sit at room temperature until it's genuinely cool to the touch—this matters because warm cake crumbles differently and can be harder to shape later.
- Crumble the cake into fine pieces:
- Break it into the finest crumbs you can manage; some people use a food processor, but I prefer using my hands so I can feel when it's the right texture.
- Mix in the frosting until dough forms:
- Fold the chocolate frosting into the crumbs gradually, watching the mixture go from sandy to cohesive; this should feel like cookie dough when you squeeze it.
- Roll and shape your cake balls:
- Scoop with a cookie scoop if you have one, then roll each ball until smooth, flattening the top slightly to mimic a pot shape—aim for about 1.5 inches in diameter so they're substantial enough to hold the gold.
- Chill the balls for 30 minutes:
- This is non-negotiable because cold cake balls hold together when you dip them; warm ones will fall apart in the coating.
- Melt your black candy melts:
- Use the microwave in 20-second bursts, stirring between each one to avoid overheating, which makes the melts thick and dull.
- Attach the sticks:
- Dip just the tip of each stick into the melted candy like you're dipping a brush in paint, then push it halfway into each ball; wait 10 minutes for this to set or the stick will spin when you dip the whole thing.
- Dip fully into the black coating:
- Submerge each cake pop and twist it gently as you lift it out, letting excess drip off—the twisting motion ensures an even coat.
- Add the gold immediately:
- While the coating is still wet, sprinkle the gold on top so it adheres; waiting even a few minutes means you'll need a sticky coating underneath.
- Set them upright to dry:
- Stand each pop in a styrofoam block so the coating sets smooth and even without any flat spots.
- Add optional details:
- Once the black coating has set, pipe a white rim around the top or add a green fondant shamrock for extra festive flair.
- Let everything set completely before serving:
- Give them at least an hour to harden fully, or they'll feel fragile in someone's hand.
 Save
Save Three hours after my niece and I finished decorating, she came back into the kitchen and whispered that she wanted to save one in a special box because it was too pretty to eat. I told her we could do that, and we did—until the next morning when curiosity won and she bit into it anyway. She said it tasted like chocolate cake and magic, which is exactly what it was supposed to taste like.
Why the Black Pot Works
Black is a surprising choice for a St. Patrick's Day dessert, but it's also perfectly authentic—traditional leprechaun lore is full of dark fairy tales and mystery, not just green and gold. The black coating makes the gold pop visually while keeping the overall look sophisticated rather than cartoonish. When you serve them, people's eyes go straight to the shimmer on top, which is exactly where you want the focus.
Storing and Serving Tips
These keep beautifully in an airtight container at room temperature for up to three days, which means you can make them in advance and have one less thing to stress about on the day of your celebration. The coating stays crisp and the cake inside stays moist enough to enjoy, though they do firm up a bit as they sit, which some people prefer.
Making Them Your Own
The base recipe is flexible enough that you can adapt it to whatever you have on hand or whatever tastes you're celebrating. I've made versions with mint chocolate frosting, white chocolate coating with green sprinkles, and even individual variations where each person decorated their own pot at the party. The joy of these isn't in following rules perfectly—it's in creating something that feels celebratory and shareable.
- Try substituting the chocolate frosting with mint chocolate for a more festive flavor that still pairs with the black coating beautifully.
- Make a gluten-free version using gluten-free cake mix and checking that your candy melts and all other ingredients meet dietary needs.
- Set up a decorating station where guests can add their own shamrocks or sprinkles before the coating sets, turning dessert into a party activity.
 Save
Save These cake pops sit at the intersection of dessert and decoration, which makes them perfect for moments when you want to celebrate something small or something big. They're the kind of thing that makes people smile before they even taste them.
Recipe FAQs
- → What type of cake works best for these pops?
A moist chocolate cake mix creates a rich base that holds well when crumbled and mixed with frosting, perfect for shaping.
- → How do I prevent pops from falling off the sticks?
Dipping the stick tip into melted candy before inserting into the cake ball helps secure them firmly once chilled.
- → Can I customize the decorations?
Yes, add green fondant or sprinkles for shamrock accents, or use white candy melts for decorative highlights.
- → How should I store the finished pops?
Store in an airtight container at room temperature for up to three days to keep the coating crisp and fresh.
- → Are there gluten-free options for this treat?
Use a gluten-free cake mix and ensure all toppings are certified gluten-free to make an allergen-free version.